Fermented Vegetables
Easy Fermented Vegetables
Because Your Gut Deserves Better Snacks
By: Jenn Alberts
Fermenting vegetables sounds like one of those things you need a croc, a beard, or a dedicated root cellar to pull off. You don’t. You need salt, water, a couple of jars, and vegetables that are about to get way more interesting.
This is a simple, reliable method for fermenting cabbage and carrots—crunchy, tangy, and full of those good-for-you probiotics. No starter cultures, no special equipment, and no fear required. If you can chop vegetables and measure salt, you’re fully qualified.

Easy Fermented Vegetables (Cabbage & Carrot)
Ingredients
- 1 small head of cabbage
-
6 carrots
* You can try other vegetables, my favorite is green cabbage and carrot
-
2 cups water
-
1½ tablespoons salt
- 1 teaspoon Black Peppercorns
- 4 cloves of garlic
- 1/2 teaspoon red pepper flakes *optional
- Dried or fresh dill *optional
Tools
-
Two 1-quart (32 oz) wide-mouth Mason jars
-
Large bowl
-
Knife and cutting board
Instructions
1. Prep the vegetables
Remove the outer leaves of the cabbage and set one aside (you’ll use it later). Thinly slice the remaining cabbage. Peel and shred the carrots. Add everything to a large bowl and mix together. *Shortcut – You can use your shredding feature on a food processor or a mandolin


2. Make the brine
In a separate container, dissolve the salt completely in the water. This is your fermentation magic—simple and effective.

3. Pack the jars
Start by adding a few black peppercorns, 2 cloves of cut or smashed garlic, a sprinkle of red pepper flakes, and a small sprig of dill into the bottom of the jars.
Divide the cabbage and carrot mixture evenly between the two Mason jars. Press the vegetables down firmly with your hand or a spoon to remove air pockets.

4. Add the brine
Pour the saltwater brine over the vegetables until they’re fully submerged. Leave about 1 inch of space at the top of each jar.

5. Keep veggies submerged
Use the reserved cabbage leaf to gently press the vegetables down so everything stays below the surface of the brine. (Vegetables that float get weird. We don’t want weird.)

6. Ferment
Loosely screw on the lids—just enough to keep dust out but allow gases to escape. You can also use fermentation lids or wax paper with a rubber band or string.
Place the jars on a plate or shallow bowl and let them sit at room temperature, out of direct sunlight.
TIP: Place your fermented name tag on your jar with a date so you remember when you started!

7. Wait and taste
After 3–5 days, start tasting. When the flavor is tangy tighten the lids and move the jars to the refrigerator. Fermentation slows down in the fridge and the flavor will continue to develop.
⸻
Notes
• Bubbling is normal. That’s fermentation doing its thing.
• If you see mold on the surface, discard and start over. Cloudy brine is totally fine—mold is not.
• These fermented veggies will keep in the fridge for several weeks (if they last that long).
Why Fermented Foods?
Fermented vegetables aren’t just trendy—they’re doing real work behind the scenes. During fermentation, beneficial bacteria naturally develop and help break down the vegetables, making them easier to digest and more nutrient-available.
In very non-sciencey terms, fermented foods can:
-
Support gut health with naturally occurring probiotics
-
Help with digestion
-
Add flavor without added sugar or preservatives
-
Make humble vegetables taste way more exciting
Also, fermentation is one of the oldest forms of food preservation, which is both practical and kind of badass.
How to Serve Fermented Vegetables
Once your veggies are fermented and chilling in the fridge, they’re ready eat with almost anywhere you’d want a little crunch and tang.
• Piled onto grain bowls or salads
• Tucked into sandwiches or wraps
• Served alongside eggs, tofu scrambles, or roasted vegetables
• Added to avocado toast (trust me)
• As a quick snack straight from the jar with a fork

Easy Fermented Vegetables
Equipment
- Large bowl
- Knife and cutting board
- 2 1-quart (32 oz) wide-mouth Mason jars or equivalent
Ingredients
- 1 small head of cabbage
- 6 carrots
- 2 cups water
- 1½ tablespoons salt
- 1 teaspoon black peppercorns
- 4 cloves garlic smashed or cut
- 1/2 teaspoon red pepper flakes optional
- dried or fresh dill optional
Instructions
- Prep the vegetables
- Remove the outer leaves of the cabbage and set one aside (you’ll use it later). Thinly slice the remaining cabbage. Peel and shred the carrots. Add everything to a large bowl and mix together. *Shortcut - You can use your shredding feature on a food processor or a mandolin
- Make the brine
- In a separate container, dissolve the salt completely in the water. This is your fermentation magic—simple and effective.
- Pack the jars
- Divide the cabbage and carrot mixture evenly between the two Mason jars. Press the vegetables down firmly with your hand or a spoon to remove air pockets.
- Add the brine
- Pour the saltwater brine over the vegetables until they’re fully submerged. Leave about 1 inch of space at the top of each jar.
- Keep veggies submerged
- Use the reserved cabbage leaf to gently press the vegetables down so everything stays below the surface of the brine. (Vegetables that float get weird. We don’t want weird.)
- Ferment
- Loosely screw on the lids—just enough to keep dust out but allow gases to escape. You can also use fermentation lids or wax paper with a rubber band or string.
- Place the jars on a plate or shallow bowl and let them sit at room temperature, out of direct sunlight.
- Wait and taste
- After 3–5 days, start tasting. When the flavor is tangy tighten the lids and move the jars to the refrigerator. Fermentation slows down in the fridge and the flavor will continue to develop.
Notes
• If you see mold on the surface, discard and start over. Cloudy brine is totally fine—mold is not.
• These fermented veggies will keep in the fridge for several weeks (if they last that long).
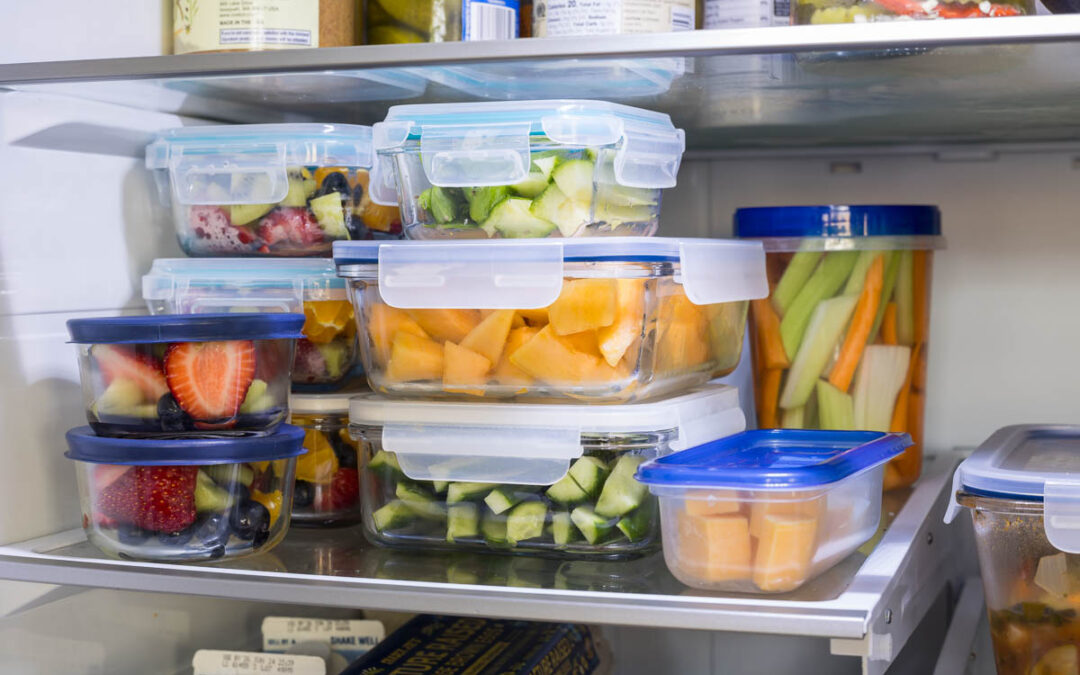
Snack Shelf
Super easy and healthy snacks ready any time of day! Helps you and your family make better snack choices. Feels like we are always searching for snacks so I decided to create a shelf in the fridge that had some quick and healthy choices. Working from home I often am...
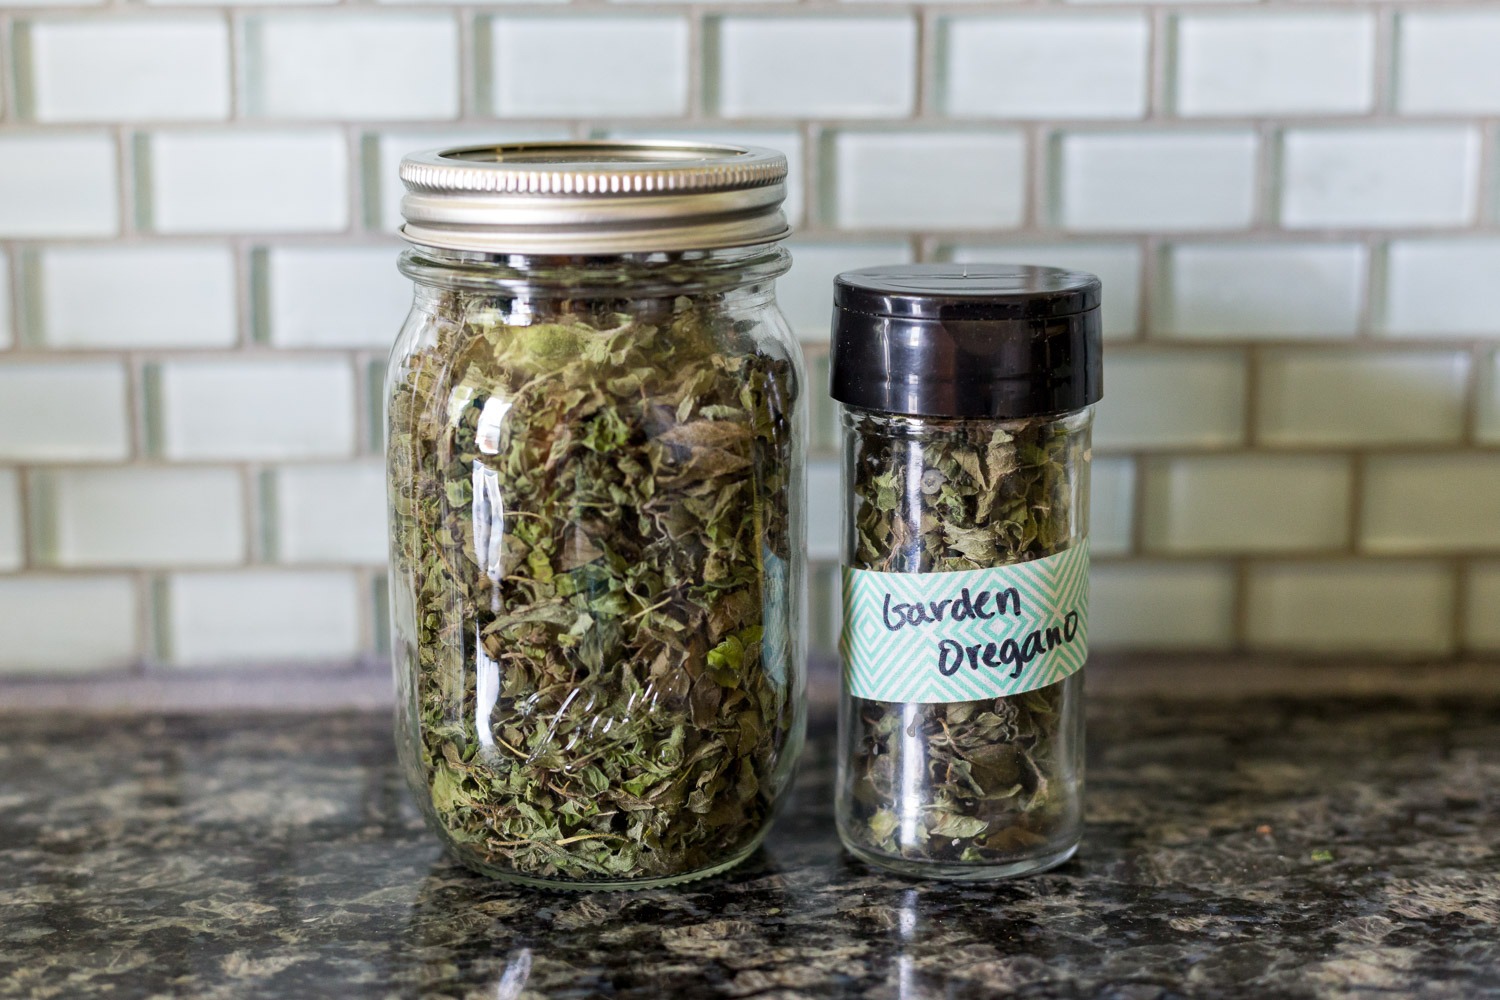
Dried Herbs – Part II (Oven Dried)
Drying your garden herbs is so easy! I have perfected the method and I dry my herbs to enjoy for the entire year. Fresh herbs in your garden are wonderful for fresh flavors all growing season. When you have an abundance, need to trim back, or it's the end of the...
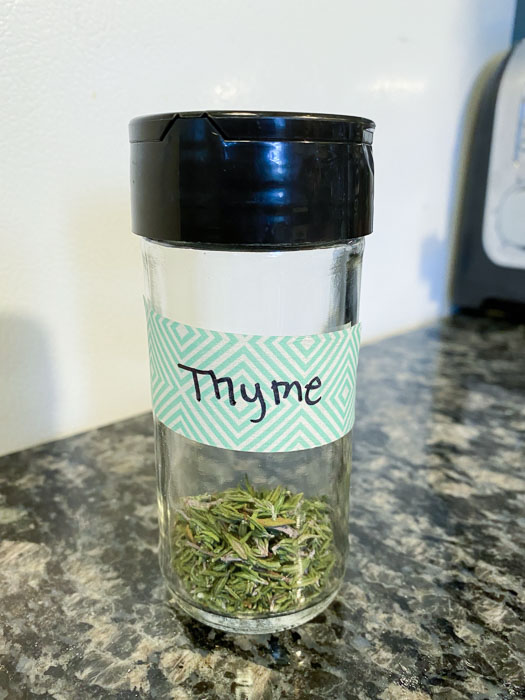
Dried Herbs -Part I (Make the most of store bought herbs)
Don't waste those herbs! If you have ever bought a little plastic container of fresh herbs from the store and throw out half of it, I have a great trick for you. If you have leftover fresh herbs from the store or herbs growing in your garden, I have a quick trick to...
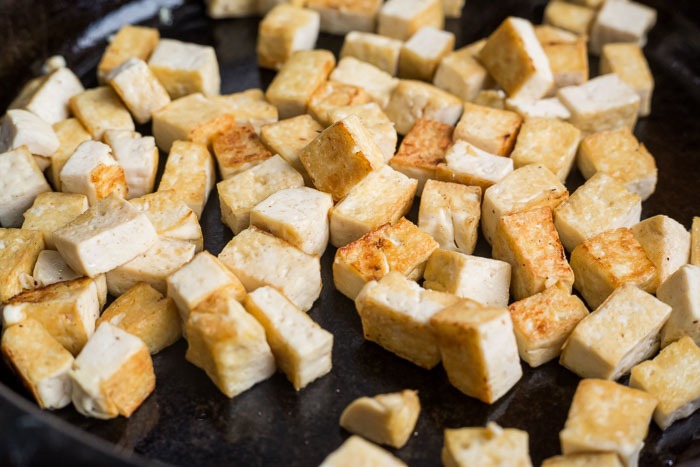
How to cook tofu : Part 1 Pan Frying
I know a lot of people have trouble cooking tofu so I’ve put together some good tips here and created a blog post and video entirely about cooking tofu. If you buy the right kind of tofu, cook it in the right pan, and serve it with a flavorful sauce tofu can be...
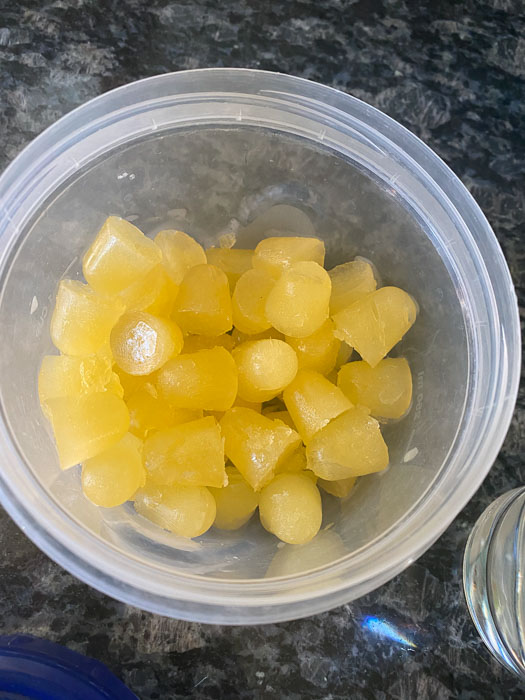
Food Hacks: mini citrus ice cubes
This easy little trick will help you drink more water, use up citrus or juice that's going bad, and this is a natural flavor to add to plain or sparkling water! If you use a Sodastream at home to make your own carbonated water and don't like the flavors they have...