Hummus
Delicious Smooth Hummus!
By: Jenn Alberts
If you want a super creamy hummus that is sure to become your new favorite, this is it!

In this recipe I’ve used dry chickpeas which are less expensive than canned and I get them organic at my local store. There are a few extra steps using the dried chickpeas and you can certainly use canned ones to save time for a quick hummus. This version calls for taking off the majority of the chickpea skins which make for a smoother texture and for some reason seem to help me digest them better (aka less gas).
The first time I removed the skins from the chickpeas I really wasn’t sure it would be worth it. It takes a good 5-10 min and it’s a bit of a pain but I find it to be worth it! Try it out and let me know what you think. I often make a double batch and freeze half, it freezes amazingly well!
I love making this hummus for a get together with friends. I often drizzle some olive oil and top with pine nuts and sun dried tomato. The very best accompaniment for hummus is my sourdough flatbread… YUM! It’s amazing with almond crackers and veggies as well.

Step 1
Soak dry chickpeas in water overnight or for at least 6-8 hrs. Once the chickpeas are soaked strain off overnight water and rinse. Boil chickpeas in water for 20 then add baking soda and boil for 8 min more. The baking soda will cause the skins to come off the chickpeas. Rinse off chickpeas under water and gently rub in your hands to remove most of the remaining chickpea skins.


Step 2
In a food processor or blender all ingredients and blend well until nice and smooth. Taste test and add more salt, lemon, or garlic to your taste.


Step 3
Drizzle a little olive oil on the top and serve with pita bread, flatbread, vegetables, or crackers!


Hummus
Ingredients
- 1 1/2 cup dry chickpeas 2-3 cups soaked/cooked OR 2 cans chickpeas
- 2 teaspoons baking soda for boiling in water
- 3 Tablespoons extra-virgin olive oil
- 1/4 cup tahini
- 2 Tablespoons fresh lemon juice
- 1-2 cloves garlic
- 2-3 Tablespoons water as needed to blend
- 1/2-3/4 teaspoon sea salt
- 1/2 teaspoon ground cumin optional
- 1/4 teaspoon cayenne pepper optional
Instructions
- Soak dry chickpeas in water overnight or for at least 6-8 hrs. Once the chickpeas are soaked strain off overnight water and rinse. Boil chickpeas in water for 20 then add baking soda and boil for 8 min more. The baking soda will cause the skins to come off the chickpeas. Rinse off chickpeas under water and gently rub in your hands to remove most of the remaining chickpea skins.
- In a food processor or blender all ingredients and blend well until nice and smooth. Taste test and add more salt, lemon, or garlic to your taste.
- Drizzle a little olive oil on the top and serve with pita bread, flatbread, vegetables, or crackers!
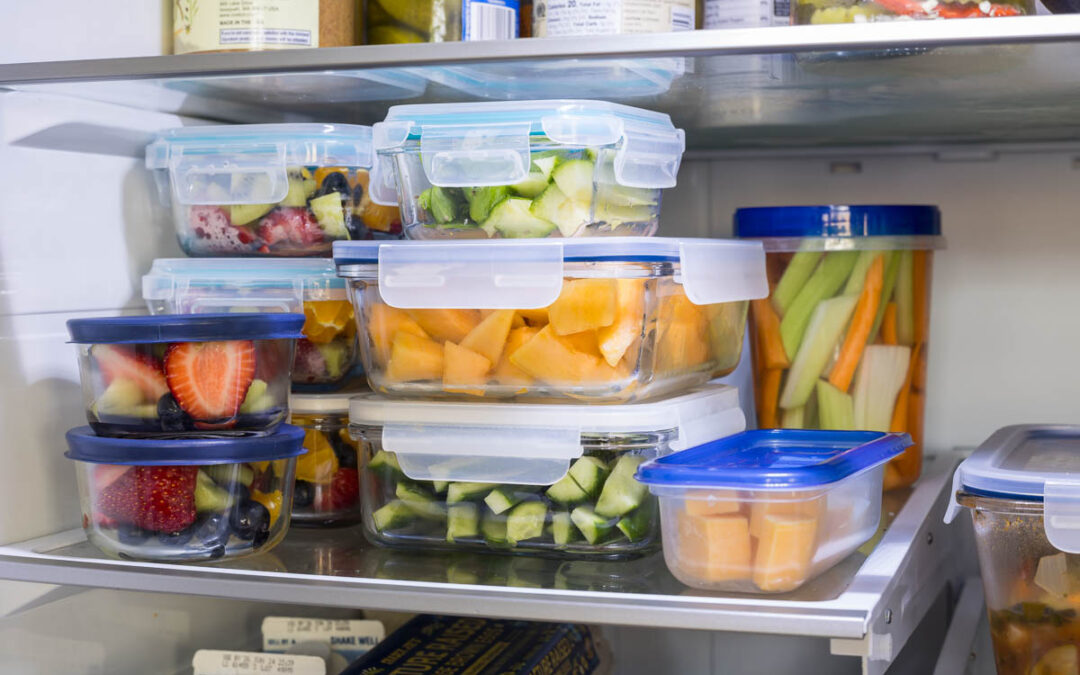
Snack Shelf
Super easy and healthy snacks ready any time of day! Helps you and your family make better snack choices. Feels like we are always searching for snacks so I decided to create a shelf in the fridge that had some quick and healthy choices. Working from home I often am...
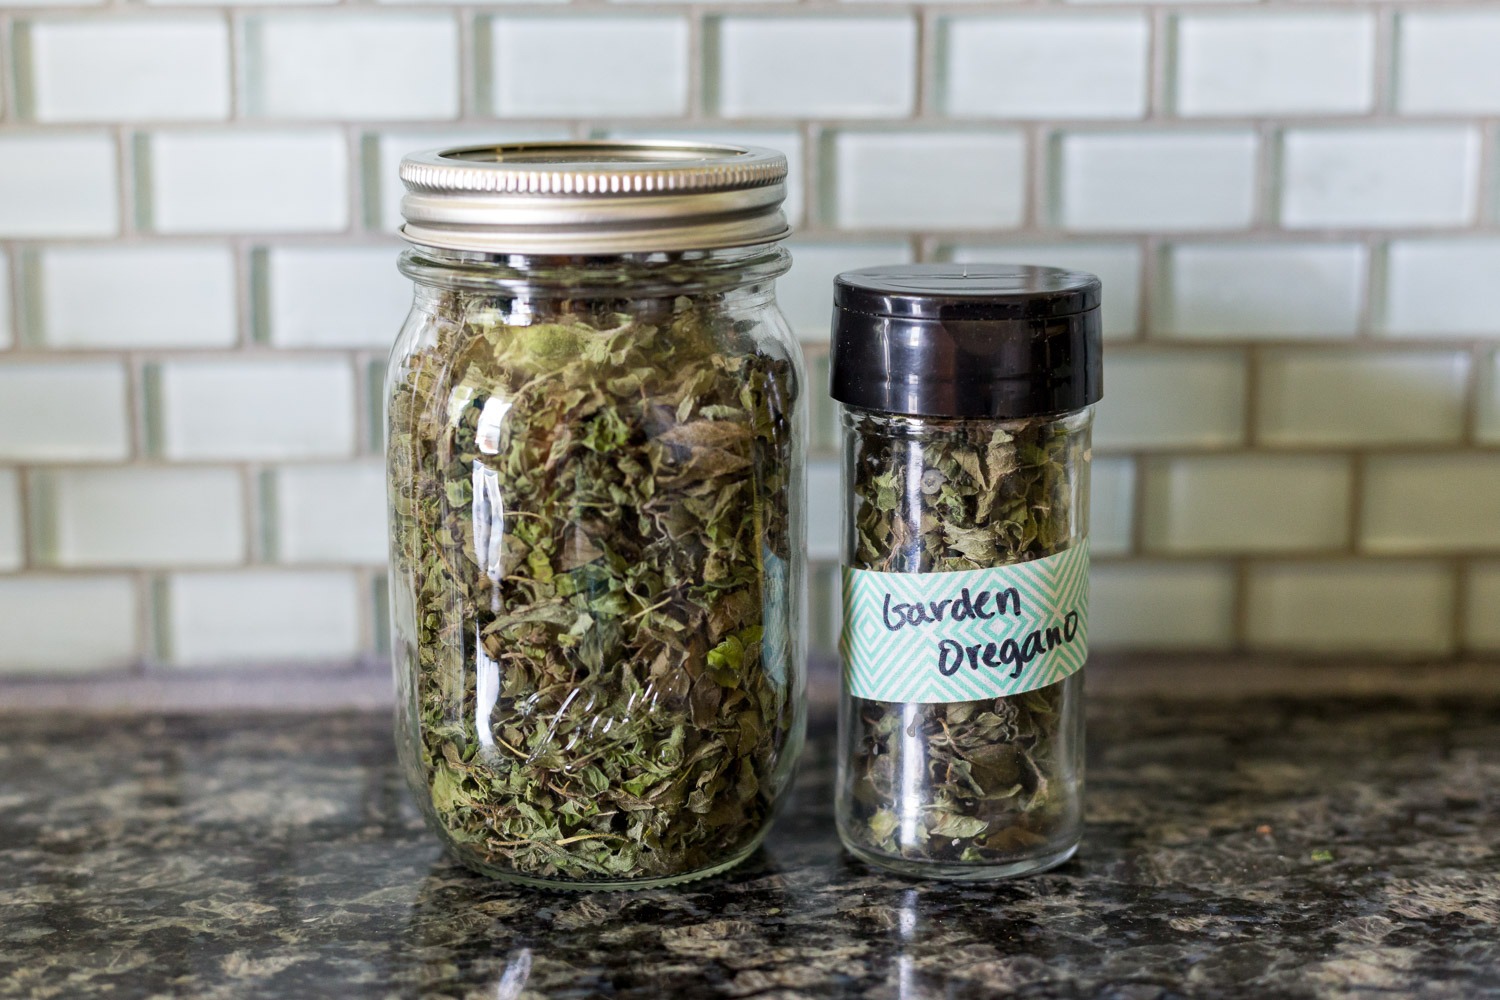
Dried Herbs – Part II (Oven Dried)
Drying your garden herbs is so easy! I have perfected the method and I dry my herbs to enjoy for the entire year. Fresh herbs in your garden are wonderful for fresh flavors all growing season. When you have an abundance, need to trim back, or it's the end of the...
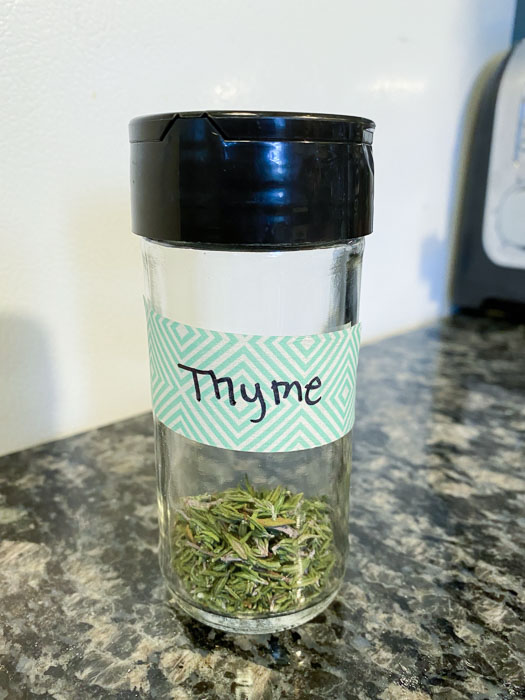
Dried Herbs -Part I (Make the most of store bought herbs)
Don't waste those herbs! If you have ever bought a little plastic container of fresh herbs from the store and throw out half of it, I have a great trick for you. If you have leftover fresh herbs from the store or herbs growing in your garden, I have a quick trick to...
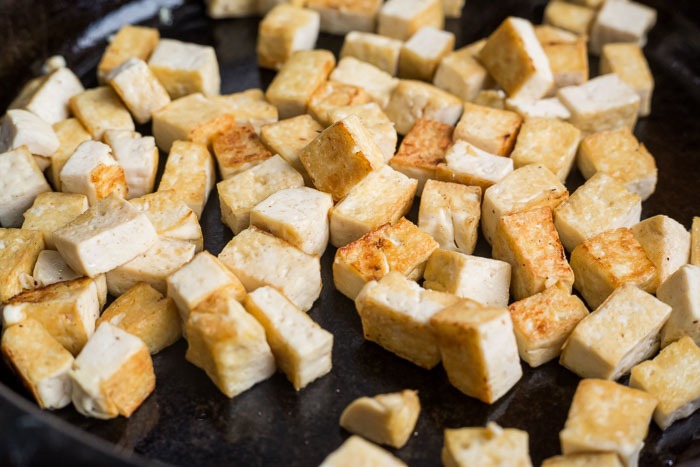
How to cook tofu : Part 1 Pan Frying
I know a lot of people have trouble cooking tofu so I’ve put together some good tips here and created a blog post and video entirely about cooking tofu. If you buy the right kind of tofu, cook it in the right pan, and serve it with a flavorful sauce tofu can be...
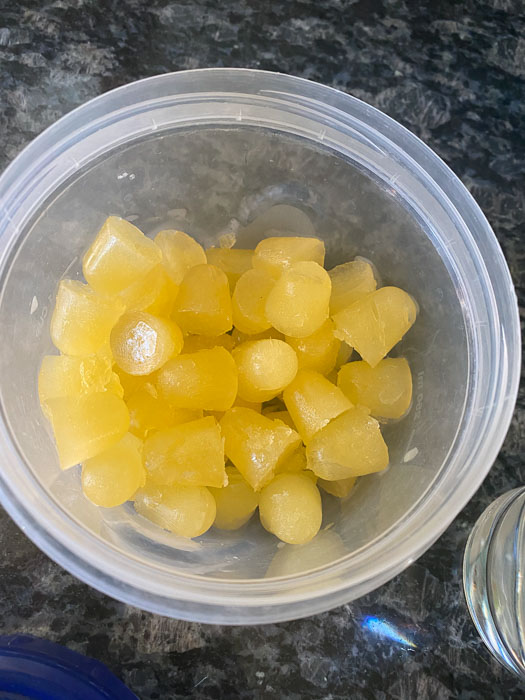
Food Hacks: mini citrus ice cubes
This easy little trick will help you drink more water, use up citrus or juice that's going bad, and this is a natural flavor to add to plain or sparkling water! If you use a Sodastream at home to make your own carbonated water and don't like the flavors they have...